do you ever make Effect Clouds??
If not, I will give you tip trik make Effect Clouds.....!!
So, see step by step y!
Step 1. Make before Workspace, with
- width = 550 pixel
- Height = 250 pixel
- Resoulution = 72
- Mode = RGB Color,
So, we workspace background will to be white.
Step 2. Choose at Manu your bar at Layer + New + Layers or CTRL + SHIFT + N.
So, will output like this...!!
For: -color = white
-mode = Normal
-Opacity = 100

Ste 3. Use in the same layers background, change background color y color to be black
- Press at your keyboard ALT + DEL, so will automically your background color to be
black.
like background this here....!!
Step 4. Choose at your menu bar, filter + rander + Difference Clouds
so, background color will like this....!!
background will like this....!!
Step 4. Choose at your menu bar, Image + Adjustments + Invert
or press at your keyboard CTRL + I.
So, automically your background color will be like this....!!
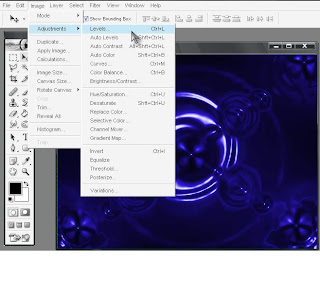
Step 5. Choose at your menu bar, Image + Adjustments + Levels
- make channel ya jadi RGB
- input Levels = 55 0.60 153
- or press your keyboard CTRL + L
so, automically your background color to be like this......!!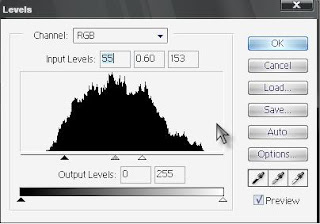
If, your background color not like this. Repeat again from step by step y.....!!
---------------Finish and Good Luck For You------------------------
Make Efect Clouds
Labels: tutorial photoshop 0 comments
![]()
![]()
Make Effect Tsunami
Labels: tutorial photoshop 0 commentsDo you ever see effect like this??
Here I will make Effect Tsunami....!!
The Follow this step by step ? 
1. Make workspace before, with specification y
- preset size y to be Custom
- Width = 800 Pixel
- Height= 600 Pixel
- Resolution = 72 pixel/inch
- Mode = RGB Color
- Contents ya = White
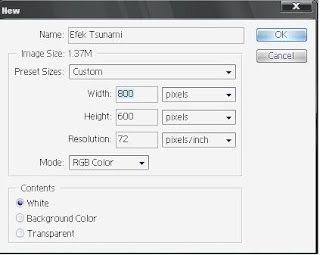
and ok. So, image will like this be..!
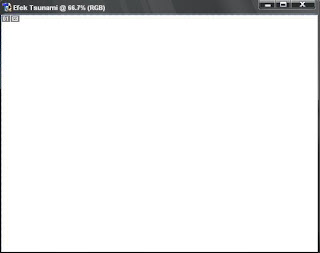
Step2.
after that don't forget, make new layers with name layer 1. Make Background color be black, enough with press at your keyboard ALT + DEL.
So, will be automically image will to be black, image will like this be y..!

Step 3.
Choose at menu your bar Filter + Render + Lens flare
- For Brightness y 100 %
- For Lens type y choose 50-30mmzoom
- and this doing with repeat until 5 multiply

so, image y will like this..!

Step 4.
Choose at Menu your bar filter + sketch + chrome
- For Detail = 2
- Smoothness = 7


Step 5.
Choose at Menu your bar Image + Adjustment + Hue+Saturation or
press at your keyboard CTRL + U
- Cheklist Colorize
- Hue = 247 Saturation = 81 Ligtness = -2
and if finish press Ok.

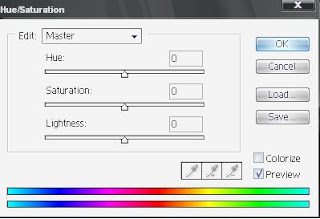

So, image will like this be bos..!
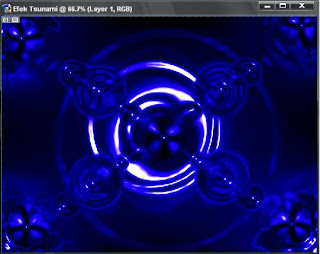
If image not like this, try repeat again from step 1 until step 5.
------------------------ Finish-------------------------------
![]()
![]()
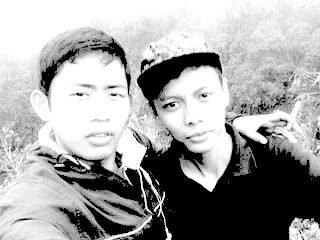
Make Effect Like Paint Wood....!!
Labels: tutorial photoshop 0 commentsWant make fhoto like this.....?
Please, see step by step y.....!!!
So, We here go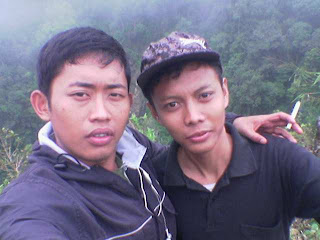.jpg)
Step 1. You Choose Image/Adjustments/Desaturate (Shift + Ctrl + U)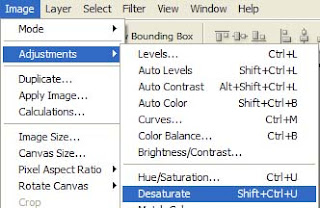
That will Change it to gray
Step 2. Create a new Adjustments Layer and choose Levels
Now, create the rain for this picture.
Step 3. Create a new layer and change its name to "rain"
Step 4. Choose Edit/Fill (Shift + F5)
and that We change
So, the rain layer will be gray.
Step 5. Now, choose Filter/Noise/Add Noise
And Change Amount: 12, choose Gaussian for Distribution and check to Monochromatic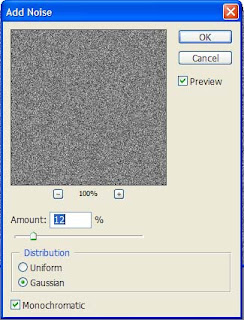
Step 6. Next, choose Filter/Blur/Motion Blur
and now Change Angle to 90 and Distance to 999, it will be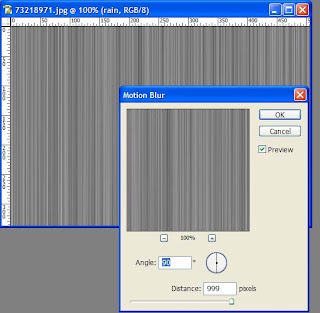
Step 7. Choose Edit/Transform/Skew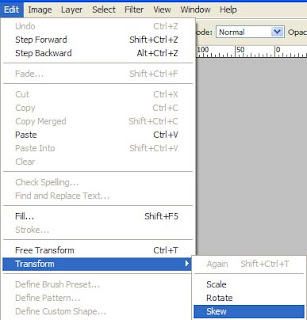
and change like that by drag the top right point to the right and the bottom left point to the left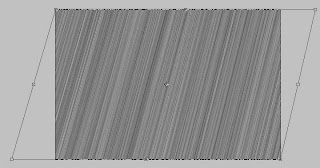
it will be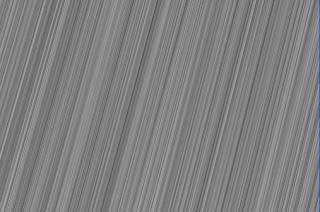
Step 8. Change rain layer mode to Vivid Light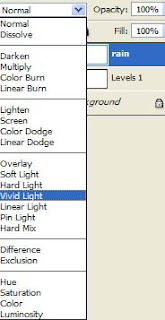
It will be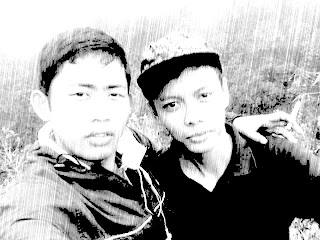
Step 9. For more contrast, choose Image/Adjustments/Levels
and make it more contrast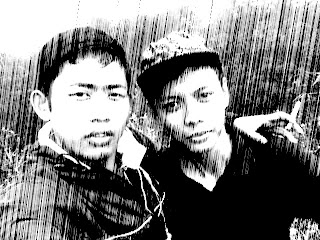
and make levels ya 87 0.45 171
Step 10. This step, we will clean some lines that we don't want
Choose Eraser Tool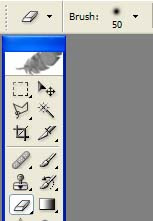
And begin to erase some lines on their face.....
And Finish editing fhoto
Result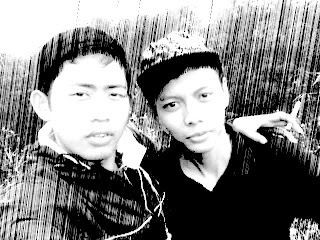
![]()
![]()
 Print this page


