This here me will give You tutorial Make Photo Retro, How?
Follow step by step y....!!!
Step 1:
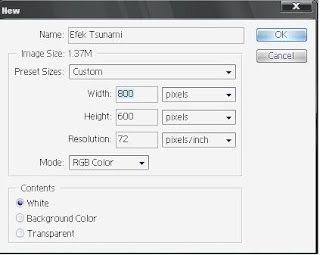
The first, make your workspace new with the way click at Your menubar File + New. Or only press at your keyboard CTRL + N. So, automically new frame opened.
Name : Make Photo Retro
Preset Sizes : 800 x 600
width : 800 pixel
height : 600 pixel
Resolution: 72 pixel/inch
Mode : RGB Color
Contents: White

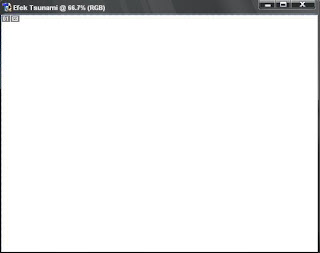
So, automically workspace will opened with frame name Make Photo Retro.

Step 2:
Next, make new layers at your pallete with choose Layer + New + Layer, or only press your keyboard together with CTRL + SHIFT + N. Latter will out frame New layer for setting place. Change name layer1 with black, click ok. So, automically new layer has been created.
Name: Black
Color : None
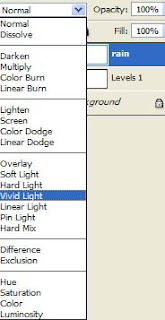
Mode : Normal
Opacity : 100 %
So, automically new layers has been created at your pallete with layer name is black.
see, layers will like this.

Step 3:
set layer your black with color black, with choose at your toolbox Paint Bucket Tool that there buttom Gradient Tool or only press at your keyboard G. give layer black with color black at foreground color and set color black to layer black with only press your keyboard ALT + DEL. So, automically layer black will to be black.
like this.

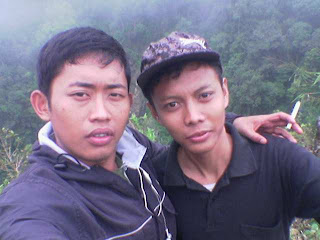
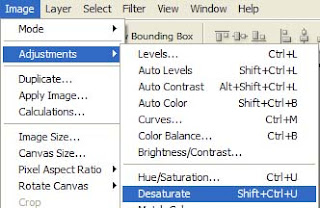
Step 4:
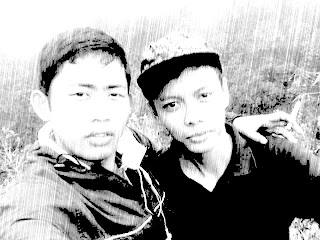
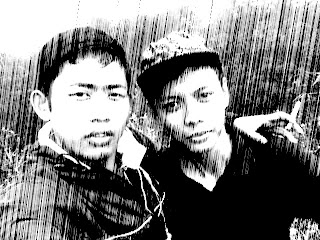
get image that me gived for you. image with name Photo.gif and open photo.gif to your photoshop. Don't forget photo.gif still in format gif, so change format .gif to RGB Color. With choose at your menubar IMAGE + MODE + RGB Color. After that drag Photo.gif to workspace Make Photo Retro with press SHIFF your keyboard.
see, position image like this.

image will like this.

Step 5:
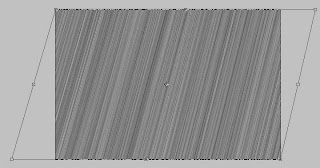
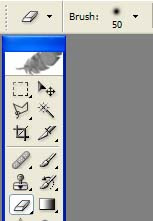
Choose at your toolbox Custom Shape Tool that there at buttom Rectangle Tool or only press your keyboard U. When you click Custom Shape Tool, see at your option bar, there name shape. Choose shape Flower 7, using scale or CTRL + T for zomm shape y.

see, image will like this..!!

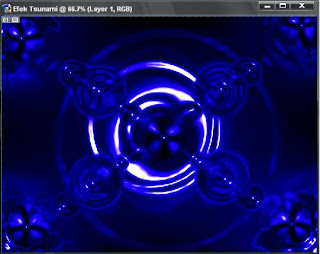
Step 6:
here, I will make new layer 1 like Poster. With choose at your menubar
Filter + Artistic + Poster Edges. Smalling zoom to be 33% with click symbol -. Set value y.
Edge Thickness : 9
Edge Intensity : 4
Posterization : 2
After that click ok, so will like this.

set value y!

image like this..!!

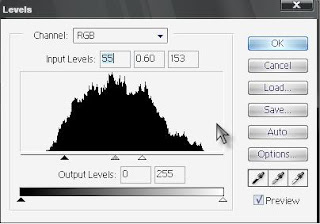
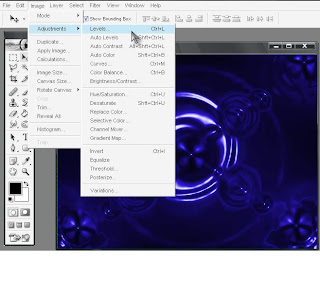
Step 7:
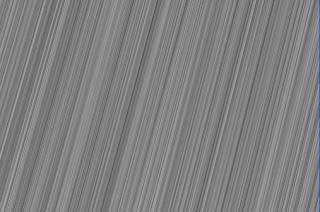
Choose at your menubar Filter + Artistic + cotout. make zoom to be 33% with symbol -. set this value.
No. of Levels : 8
Edge Simplicity : 3
Edge Fidelity : 2
see this...!!

setting this value...!!

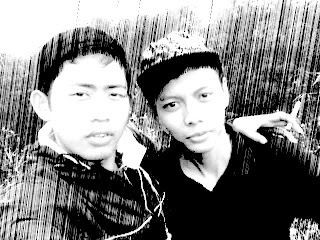
result will like this....!!

Finished and Good Luck for you...!!


.jpg)


 Print this page


