Do you ever see effect like this??
Here I will make Effect Tsunami....!!
The Follow this step by step ? 
1. Make workspace before, with specification y
- make rename workspace to be Effect Tsunami
- preset size y to be Custom
- Width = 800 Pixel
- Height= 600 Pixel
- Resolution = 72 pixel/inch
- Mode = RGB Color
- Contents ya = White
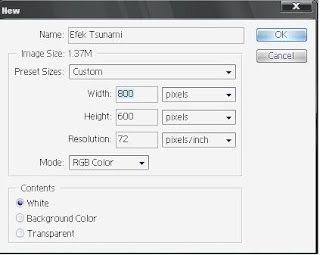
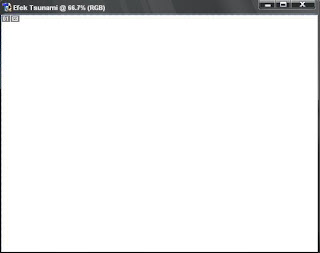
and ok. So, image will like this be..!
Step2.
after that don't forget, make new layers with name layer 1. Make Background color be black, enough with press at your keyboard ALT + DEL.
So, will be automically image will to be black, image will like this be y..!

Step 3.
Choose at menu your bar Filter + Render + Lens flare
- For Brightness y 100 %
- For Lens type y choose 50-30mmzoom
- and this doing with repeat until 5 multiply

so, image y will like this..!

Step 4.
Choose at Menu your bar filter + sketch + chrome
- For Detail = 2
- Smoothness = 7


Step 5.
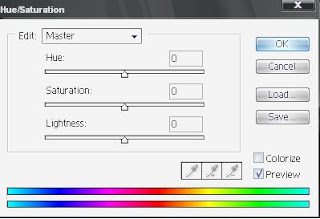
Choose at Menu your bar Image + Adjustment + Hue+Saturation or
press at your keyboard CTRL + U
- Cheklist Colorize
- Hue = 247 Saturation = 81 Ligtness = -2
and if finish press Ok.

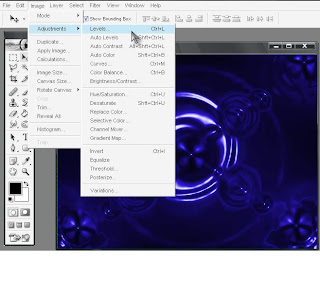

So, image will like this be bos..!
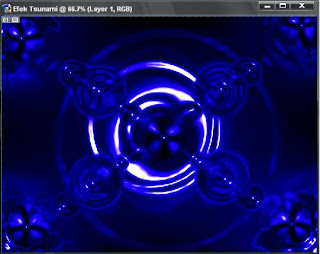
If image not like this, try repeat again from step 1 until step 5.
------------------------ Finish-------------------------------
- preset size y to be Custom
- Width = 800 Pixel
- Height= 600 Pixel
- Resolution = 72 pixel/inch
- Mode = RGB Color
- Contents ya = White
and ok. So, image will like this be..!
Step2.
after that don't forget, make new layers with name layer 1. Make Background color be black, enough with press at your keyboard ALT + DEL.
So, will be automically image will to be black, image will like this be y..!
Step 3.
Choose at menu your bar Filter + Render + Lens flare
- For Brightness y 100 %
- For Lens type y choose 50-30mmzoom
- and this doing with repeat until 5 multiply
so, image y will like this..!
Step 4.
Choose at Menu your bar filter + sketch + chrome
- For Detail = 2
- Smoothness = 7
Step 5.
Choose at Menu your bar Image + Adjustment + Hue+Saturation or
press at your keyboard CTRL + U
- Cheklist Colorize
- Hue = 247 Saturation = 81 Ligtness = -2
and if finish press Ok.
So, image will like this be bos..!
If image not like this, try repeat again from step 1 until step 5.
------------------------ Finish-------------------------------
 Print this page


Comment Form under post in blogger/blogspot